This guide shows how to write an autoresponder for SMS text messages. Autoresponders can streamline marketing campaigns and subscription signups and reduce the amount of work humans have to do. You can create a text autoresponder either by using our PHLO visual workflow builder or our SMS API. Follow the instructions in one of the tabs below.
You can create and deploy a PHLO to implement an SMS autoresponder with a few clicks on the PHLO canvas.
How it works
Prerequisite
To get started, you need a Plivo account - sign up with your work email address if you don’t have one already. If you’re using a Plivo Trial account, you can send SMS messages only to phone numbers that have been verified with Plivo. You can verify (sandbox) a number by going to the console’s Phone Numbers > Sandbox Numbers page.
Create the PHLO
To create a PHLO, visit the PHLO page of the Plivo console. If this is your first PHLO, the PHLO page will be empty.
- Click Create New PHLO.
- In the Choose your use case pop-up, click Build my own. The PHLO canvas will appear with the Start node.Note: The Start node is the starting point of any PHLO. It lets you trigger a PHLO to start upon one of three actions: incoming SMS message, incoming call, or API request.
- If you plan to use a dynamic payload - passing values through parameters when you trigger the PHLO from your application - click on the Start node to open the Configuration pane. Under API Request, enter key names for the variables you want to use in your payload - for example, a list of numbers to send an SMS message to.
- Once you’ve configured the node, click Validate to save the configuration.
- From the list of components on the left-hand side, drag and drop the Send Message component onto the canvas. When a component is placed on the canvas it becomes a node.
- Draw a line to connect the Start node’s Incoming Message trigger state to the Send Message node.
- In the Configuration pane at the right of the canvas, configure the Send Message node with a sender ID in the From field. Enter the destination number you wish to send a message to in the To field. Put your message in the Text field.Note: You can define a static payload by specifying values when you create the PHLO, or define a dynamic payload by passing values through Liquid templating parameters when you trigger the PHLO from your application.
- Once you’ve configured the node, click Validate to save the configuration.
- After you complete the configuration, give the PHLO a name by clicking in the upper left, then click Save.
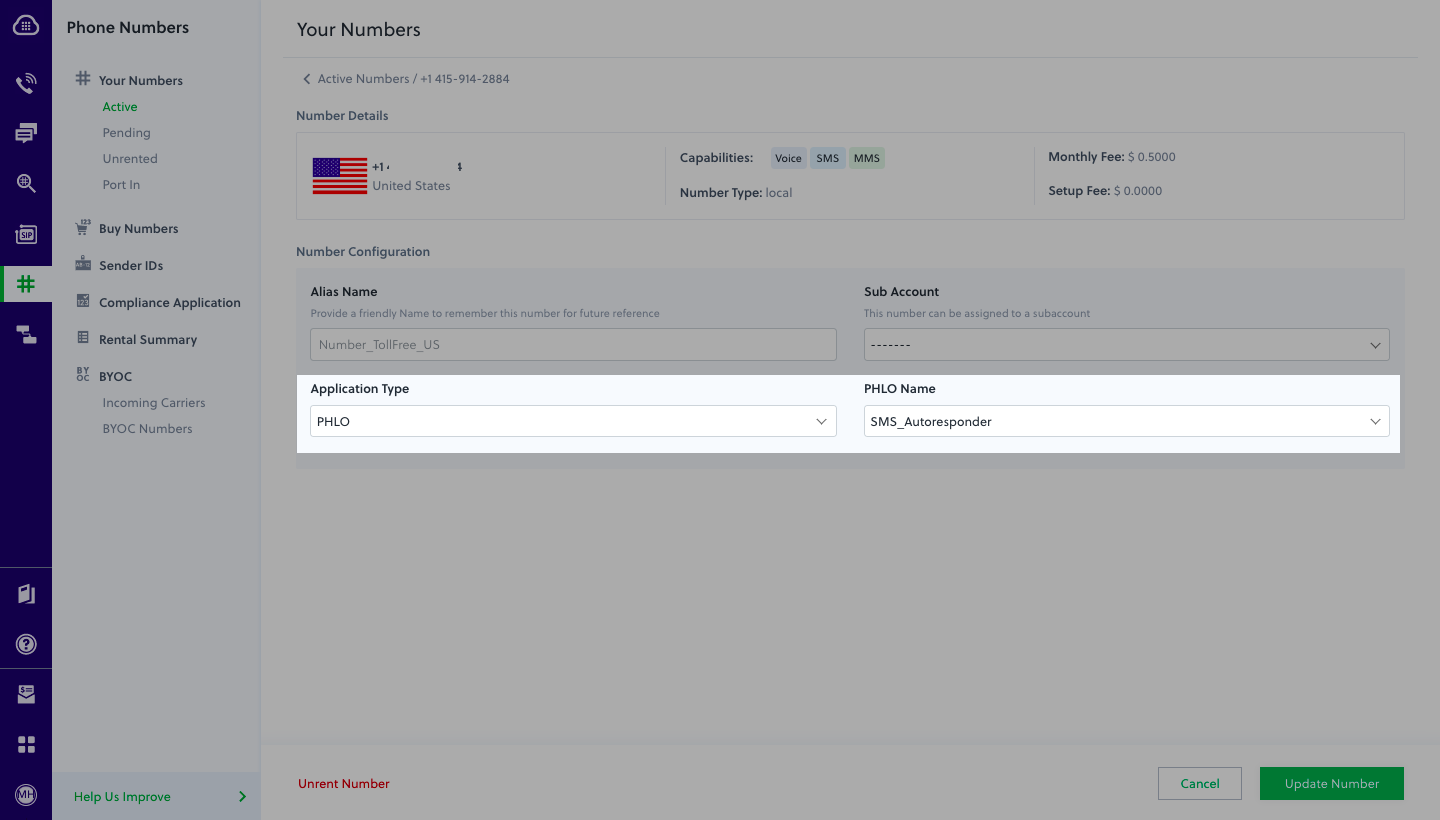
Assign the PHLO to a Plivo number
Once you’ve created and configured your PHLO, assign it to a Plivo number.
- On the Numbers page of the console, under Your Numbers, click the phone number you want to use for the PHLO.
- In the Number Configuration box, select PHLO from the Application Type drop-down.
- From the PHLO Name drop-down, select the PHLO you want to use with the phone number, then click Update Number.
Test
You can now send a message to your Plivo phone number and see how the autoresponder works.
For more information about creating a PHLO application, see the PHLO Getting Started guide. For information on components and their variables, see the PHLO Components Library.