Configuring FusionPBX to connect with Zentrunk
Overview
Zentrunk is a SIP Trunking service from Plivo that allows you to connect with fixed and mobile phones in over 200 countries. Connect your cloud or on-premise communication infrastructure to Plivo’s Zentrunk SIP Trunking service to connect to your customers easily.
This documentation provides a basic configuration to get FusionPBX up and running with Plivo as the external SIP gateway.
To get started with Zentrunk using FusionPBX you would need to do the following:
- Install FusionPBX on your environment.
- Create a Trunk on Zentrunk using Plivo Console.
- Configure Outbound Gateway.
- Configure Inbound Gateway.
Installation of FusionPBX
For more information on installing FusionPBX, see the following FusionPBX documents:
- Follow the instructions here to install FusionPBX on Debian.
- Follow the instructions here to install FusionPBX on CentOS/Ubuntu.
Create a Trunk on Zentrunk
You can create a trunk using Plivo Console. For more information on creating a Trunk on Plivo Console, see Getting Started with Zentrunk.
Configuring an Outbound Trunk
Configuring your Outbound Trunk involves the following steps:
- Set IP of FusionPBX server - from local to public
- Configuring an Extension
- Adding a Gateway
- Adding Outbound Routes
- Configuring X-Lite
Note: There are many softphones that you can use (for example, X-Lite, Blink for Linux, etc). In this tutorial, we will be using the X-Lite Softphone.
Set IP of FusionPBX server
- From the dashboard, hover over the Advanced menu, and then click Variables.
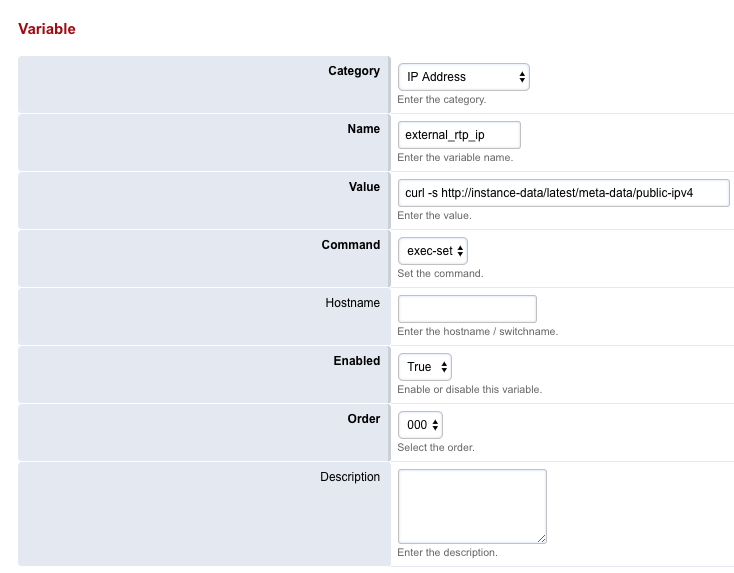
- On the Variable page, go to IP Address section and change the following variables :
- external_rtp_ip: curl -s http://instance-data/latest/meta-data/public-ipv4
- external_sip_ip: curl -s http://instance-data/latest/meta-data/public-ipv4
To add an extension
- From the Accounts menu, click Extensions.
- On the Extensions page, click + to add an extension.
The Add SIP Extension page appears.
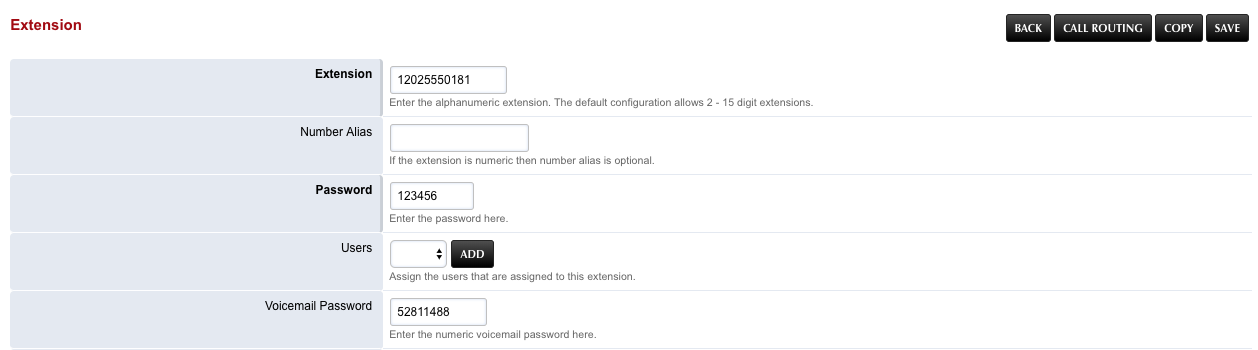
- Add the Extension, and then click Save. Note: Extension is the extension number to dial to reach the user.
- Enter the password for the extension. Note: This will be the password configured for the device.
- Once done, click Save.
Your extension is created.
To add a Gateway
- From your FusionPBX dashboard, hover over the Accounts menu, and then click Gateways.
- On the Gateways page, click + to add a gateway.
- On the Add Gateway page, enter the following details:
- Gateway: A friendly name for the trunk (for example, demo-gateway)
- Username: Username for TestAuthGroup
- Password: Password for TestAuthGroup
- Proxy: Termination SIP Domain of your Plivo Trunk
- Once done, click Save.
A gateway will be created. You must now configure an outbound route to this gateway.
To add an outbound route
- From the Dialplan menu, click Outbound Routes.
- On the Outbound Routes page, click + to add an outbound route.
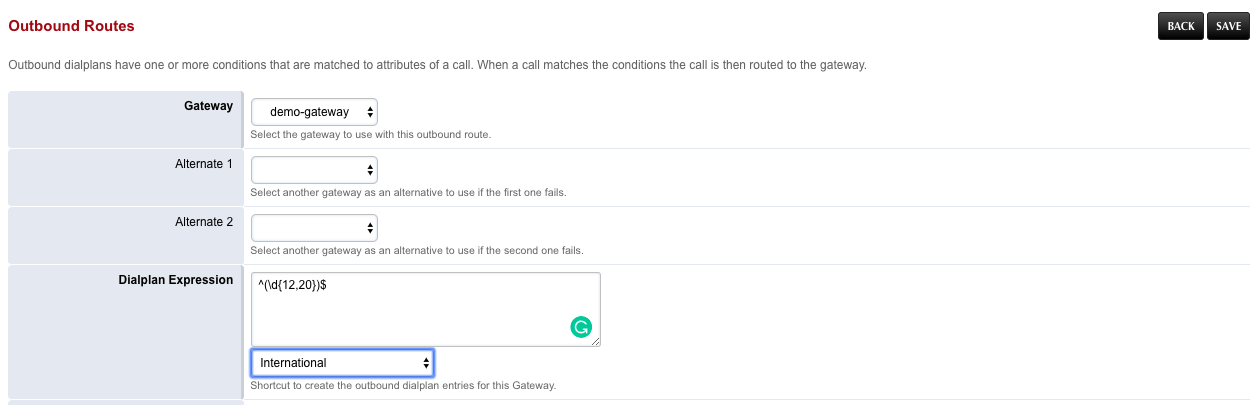
- On the Outbound Route - Add Route page, enter the following details:
- Gateway: Select the gateway you created in the previous section (demo-gateway).
- Dialplan Expression: Select International from the drop-down list.
- Once you have entered your dial pattern, click SAVE.
The outbound route will be configured to your gateway.
Configuring an Inbound Trunk
Configuring your Inbound Trunk involves the following steps:
- Set IP of Fusion PBX
- Checking SIP status
- Changing the domain
- Adding an extension
- Adding a dialplan
- Whitelisting incoming IP’s
Note: There are many softphones that you can use (for example, X-Lite, Blink for Linux, etc). In this tutorial, we will be using the X-Lite Softphone.
Set IP of FusionPBX server
- From the dashboard, hover over the Advanced menu, and then click Variables.
- Here you will have to make these change to the below variables.
- On the Variable page, go to IP Address section and change the following variables and click on save:
a. External_sip_ip
Value =curl -s http://instance-data/latest/meta-data/public-ipv4b. External_rtp_ip
command=exec-set Value =curl -s http://instance-data/latest/meta-data/public-ipv4 - In the same page go to the XMPP section and at ** bind_SERVER_ip** make same changes.
command=exec-set
Value =curl -s http://instance-data/latest/meta-data/public-ipv4
Checking SIP status
- From your dashboard hover to Status menu and click on sip status
- Here click on we will have to click on the below buttons
Flush cache RELOADACL RELOADXML - You will also have to ** Stop and start ** all 4 Sofia profiles.
- Once done, click Save.
Changing the domain
- From your dashboard hover to Advanced menu and click on domain.
- Click on the edit option of the IP
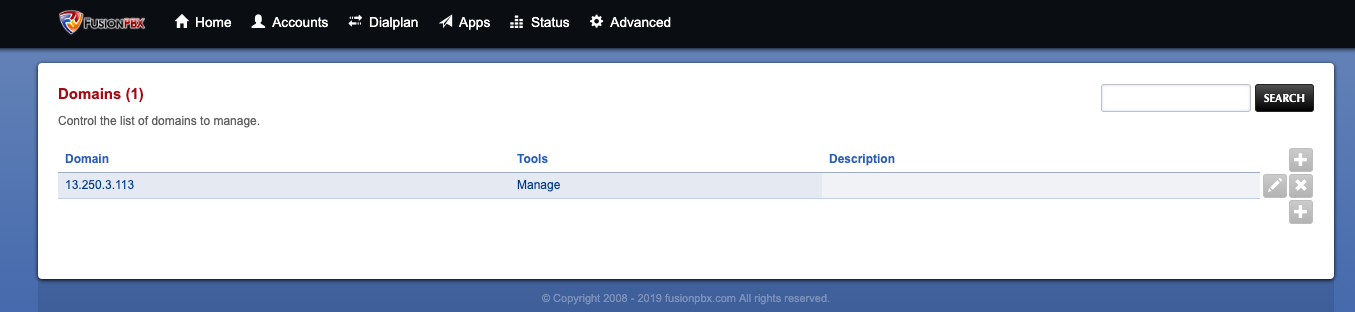
- Change the ip from local to public i.e the ip of the Fusion PBX
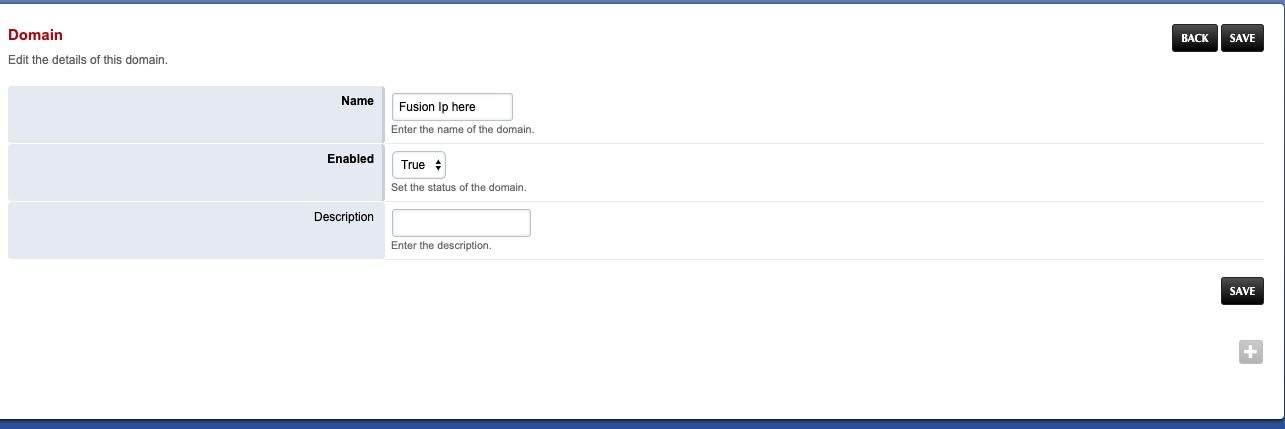
- Once you have entered your dial pattern, click SAVE.
To add an extension
- From the Accounts menu, click Extensions.
- On the Extensions page, click + to add an extension.
The Add SIP Extension page appears.

- Add the Extension, and then click Save. Note: Extension is the extension number to dial to reach the user.
- Enter the password for the extension. Note: This will be the password configured for the device.
- Once done, click Save.
Your extension is created.
To add a Dialpan
- From the Dialplan menu, click the destination option
- Choose “+” add destination
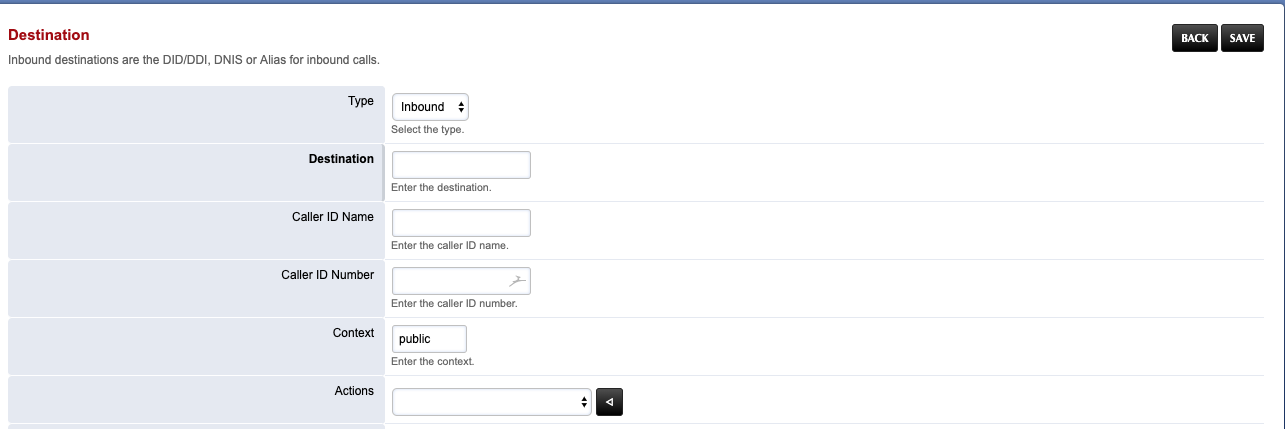
- Enter your inbound number in destination.
- Once done, click Save.
A destination number will be added.
###Whitelisting incoming IP’s
- From the Advanced menu, click access control
- Click on domain
- Click on **+ **symbol
- Choose type as allow
- In CIDR add the ip ranges from here.
Configure your Xlite and you will be able to receive calls.