Inbound Trunk
Inbound Trunking is used on numbers which have been rented on Plivo. All incoming calls on the Plivo numbers on your account can be forwarded to a DID, a SIP URI or an hostname.
This method is used when you want Plivo to route all incoming calls on your Plivo numbers to your soft switch.
Sign up for a Plivo account
When you sign up with Plivo, we give you a free trial account and free credits to experiment with and learn about our services. You can add a number to your account to start testing the full range of our voice and SMS service features.
Follow these steps to get a free trial account:
- Sign up with your work email address.
- Check your inbox for an activation email message from Plivo. Click on the link in the message to activate your account.
- Enter your mobile number to complete the phone verification step.
Set up your Plivo Application
We’ve deployed a custom trunking application for you to get started. You will have to create a Plivo application and link it to your Plivo number.
-
Navigate to the Voice Application page on your Plivo console.
-
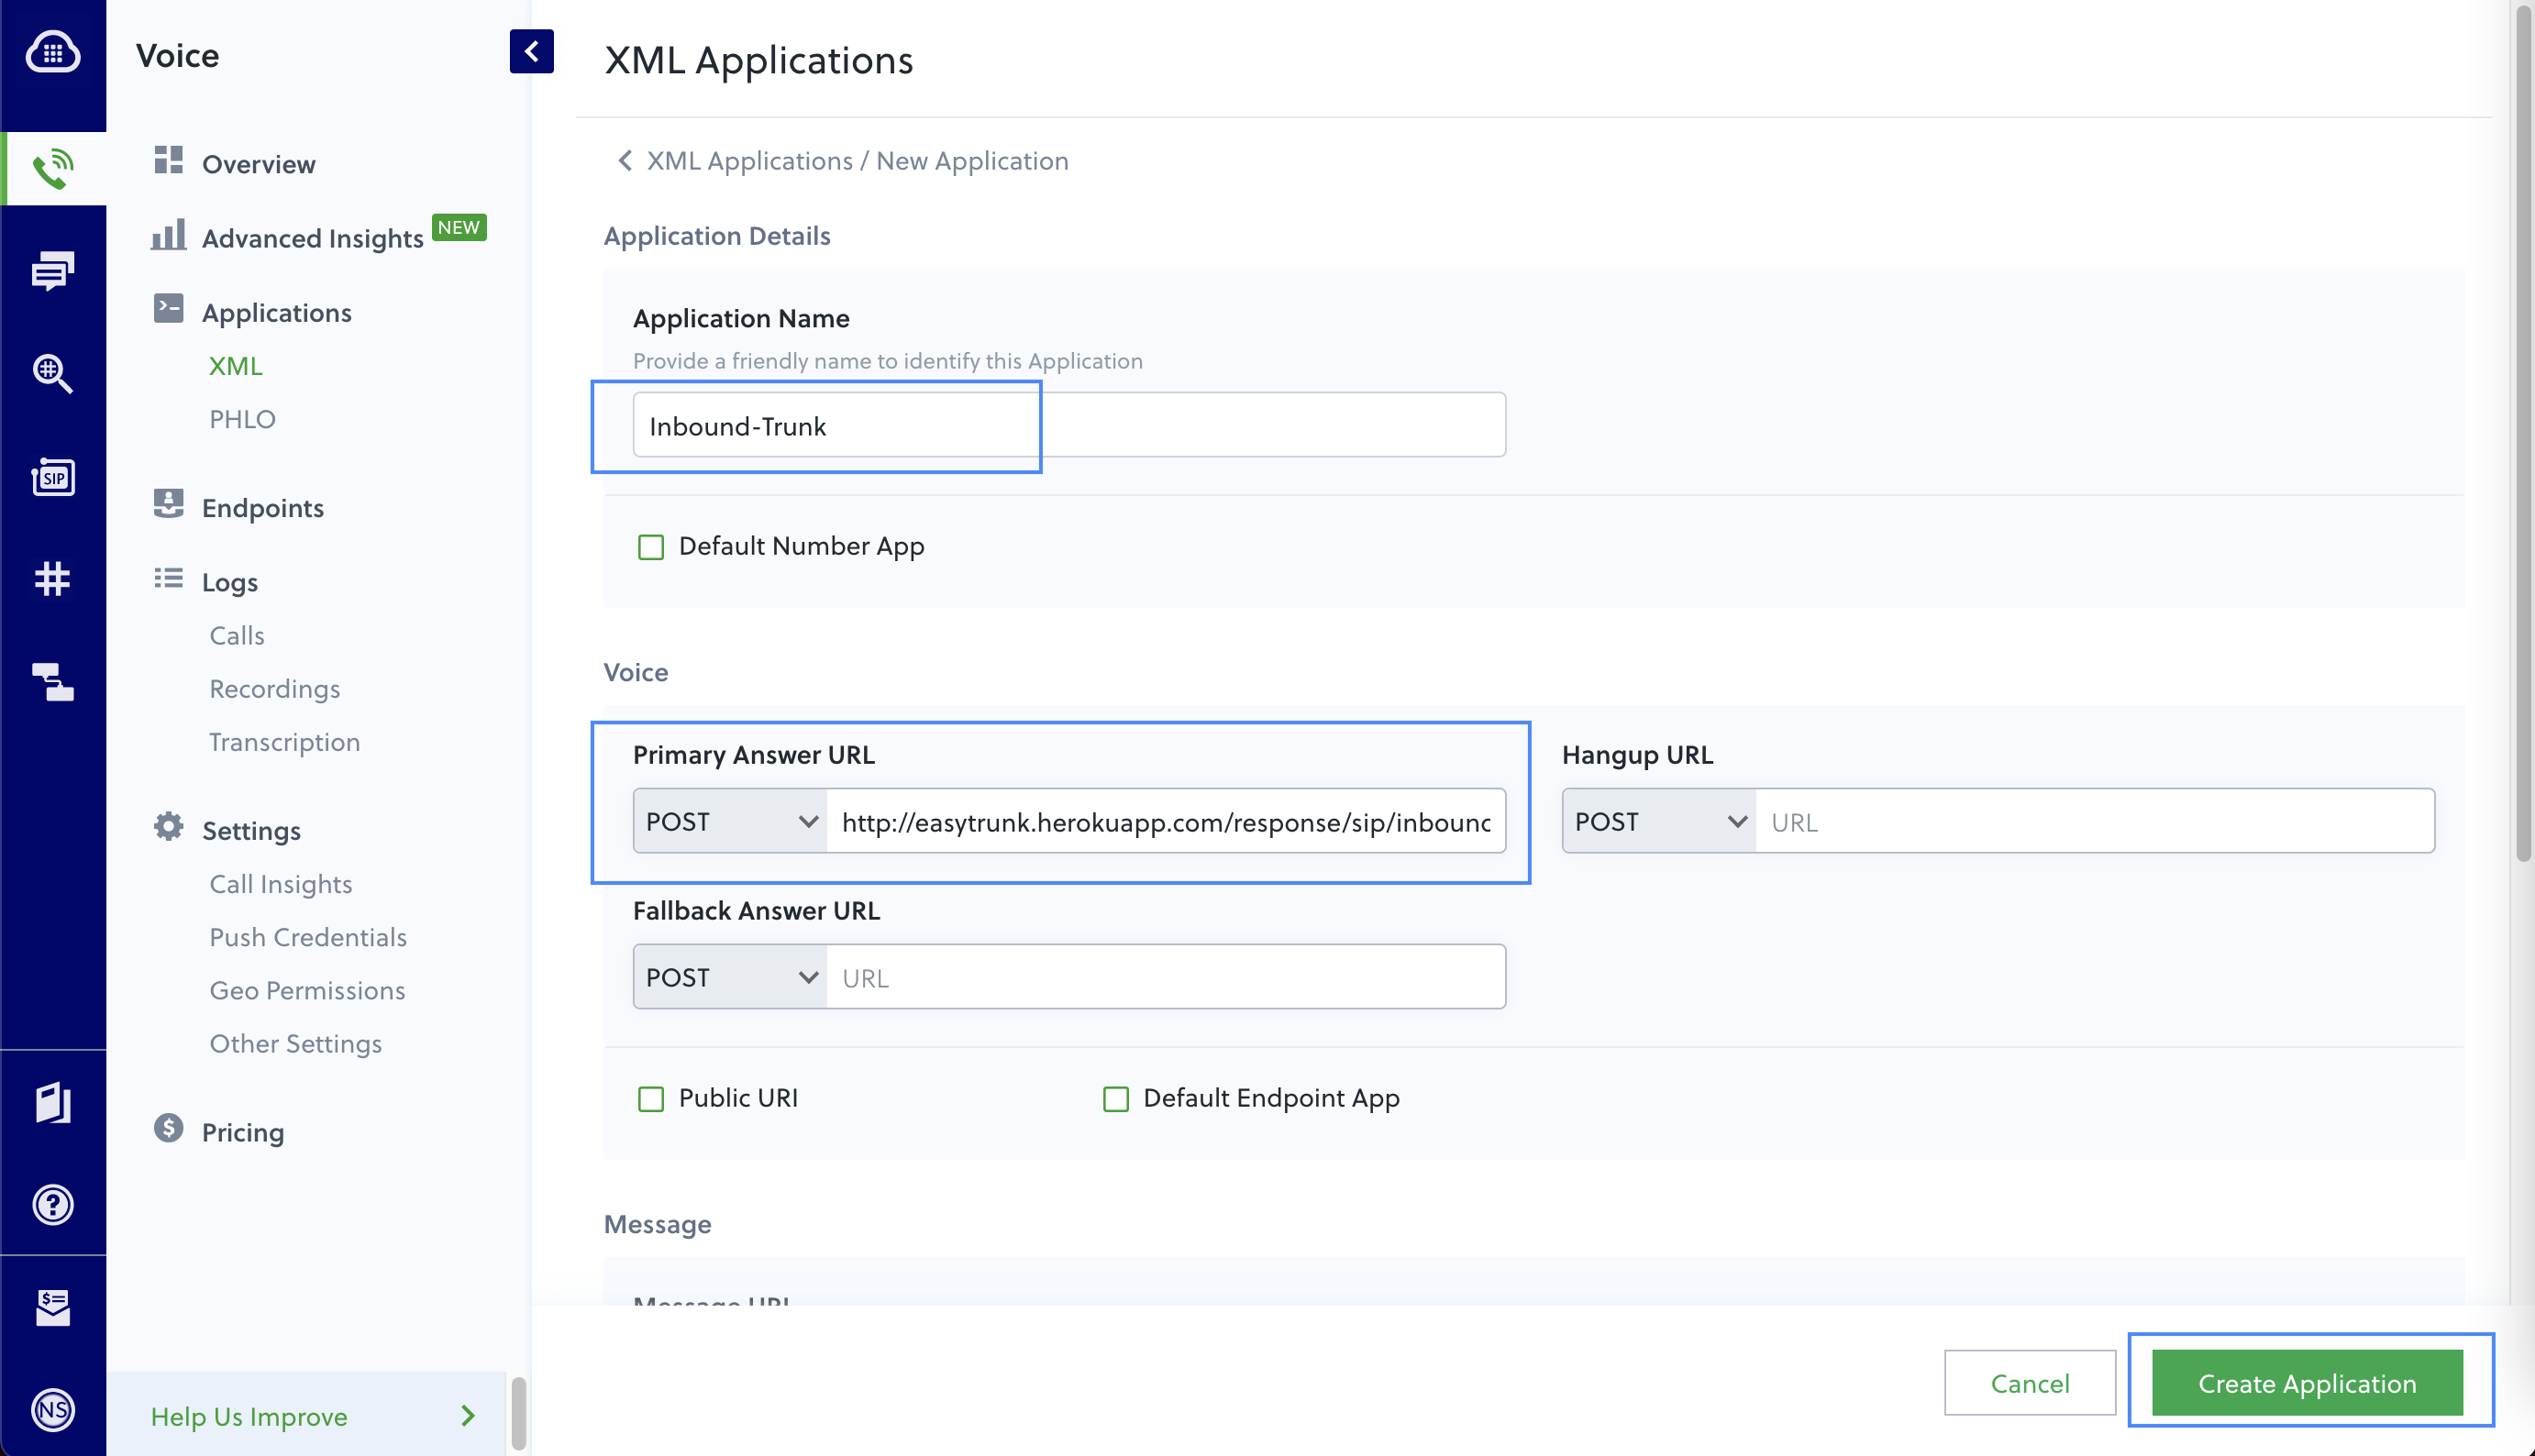
Click on ‘Add New Application’ to create a new application.
-
Enter the following URL in the ‘Primary Answer URL’ field and set the Answer Method as
GET. This URL has an automatic built-in fail over, which passes 2 destination phone numbers numbers. This means thatDestinationwill be attempted first for approximately 60 seconds. If the receiver doesn’t pick up, it will automatically dial the FailOverDestination. If the FailOverDestination doesn’t pick up, then the call will end.http://easytrunk.herokuapp.com/response/sip/inbound_trunk/?DESTINATION={Destination,FailOverDestination}
-
Click on ‘Create Application’ to save the application.
Link your Plivo Number to the Application
-
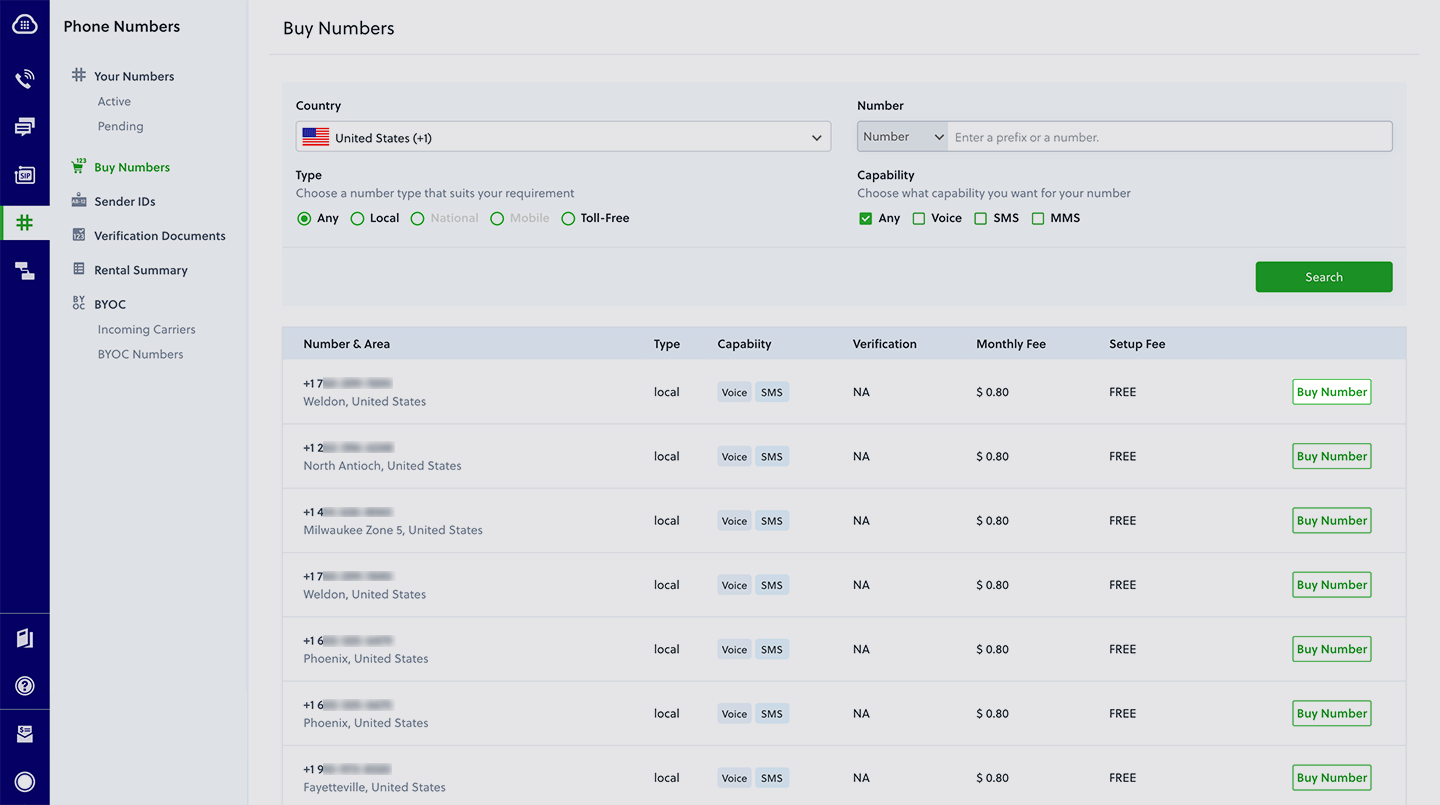
Now that we’ve created the application, we need to link it to a Plivo number. If you haven’t rented a number yet, navigate to our Buy Number page and search for a prefix/region.
-
Click on ‘Buy Number’ and select the quantity of numbers you wish to procure.
-
Navigate to the Number List page. You would see the list of numbers associated with your account. Click on the number to open the Number Link page.
-
Select ‘Inbound-Trunk’ from the dropdown list of Plivo applications.
-
Click on ‘Update’ to save your changes.
Destination Attribute Details
Calls can be forwarded to 3 different destinations.
Number
If the destination is set as a landline or a mobile number, the following XML
will be generated by Answer URL, and calls will be forwarded to end user.
For eg. DESTINATION=15623158625
<Response>
    <Dial callerId="{source number}">
        <Number>15623158625</Number>
    </Dial>
</Response>
SIP URI
If the destination is set as a SIP URI, the following XML will be generated.
For eg. DESTINATION=sip:plivo123@sip-server.com
<Response>
    <Dial callerId="{source number}">
        <User>sip:plivo123@sip-server.com</User>
    </Dial>
</Response>
Hostname
If the destination is set as an IP or a hostname, the following XML will be generated.
For eg. DESTINATION=192.123.1.23
<Response>
    <Dial callerId="{source number}">
        <User>{Plivo Number}@192.123.1.23</User>
    </Dial>
</Response>
Test it out
Make a voice call to your Plivo number from any mobile or a landline number.
The calls will be forwarded to the DESTINATION set in your application.