Receive WhatsApp Text Messages Using .NET
Overview
This guide shows how to receive WhatsApp text messages on a phone number registered against your WhatsApp business account. Typical use cases for receiving messages include customer support, opt-in and opt-out messages and other customer interactions.
You can start receiving WhatsApp messages using our APIs. Follow the instructions below.
Prerequisites
To get started, you need a Plivo account — sign up with your work email address if you don’t have one already. If this is your first time using Plivo APIs, follow our instructions to set up a .NET development environment.
To receive incoming messages, you must have an onboarded WhatsApp account with inbound capable numbers registered against the same. If the number is in connected state, it can receive incoming messages.
Create a Server to receive messages
Create a file called WhatsappMessagereceive.NET and paste into it this code.
"using System;
using Microsoft.AspNetCore.Mvc;

namespace ReceiceWhatsapp.Controllers
{
    public class ReceiveWhatsappController : Controller
    {
        // GET: /<controller>/
        public String Index()
        {
            String from_number = Request.Form["From"];
            String to_number = Request.Form["To"];
            String text = Request.Form["Body"];
            Console.WriteLine("Message received - From: {0}, To: {1}, Text: {2}", from_number, to_number, text);

            return "Message received";
        }
    }
}"
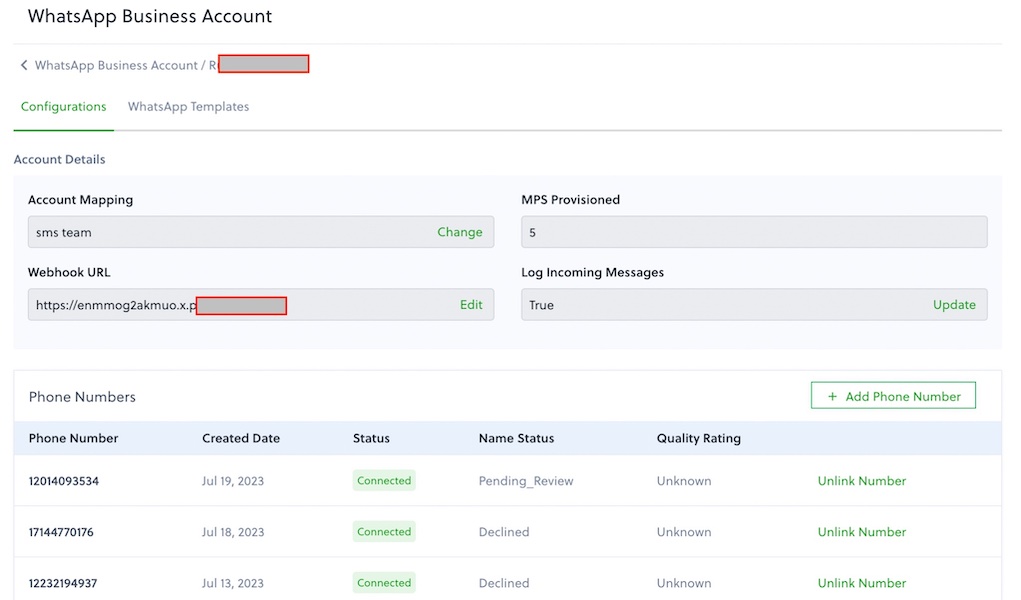
Configure Webhook URL in your WhatsApp Business Account
As shown below, you can very easily add/update webhook url against a WhatsApp Business Account. Once this step is concluded, you are good to receive incoming messages.
Test
Send a text message to the Plivo number you specified using any phone.